This is a photo tutorial demonstrating how to set up and graft i-cord together with Kitchener stitch. This is used in the Vice Versa Shawl.
This tutorial assumes that you have finished knitting your Vice Versa Shawl, and that you have left a long tail for grafting that is attached to your knitted piece, as directed in the pattern. This will show the set-up for both the first half and second half of the Vice Versa Shawl, as well as demonstrate Kitchener stitch on a 3-stitch i-cord. The Kitchener is the same for both sides of the shawl; only the set-up differs due to the orientation of the i-cord stitches on the needles.
Materials
You will need:
- your Vice Versa Shawl with attached long tails
- tapestry needle
- circular knitting needles (same used to knit your piece)
First half of shawl stitch set-up

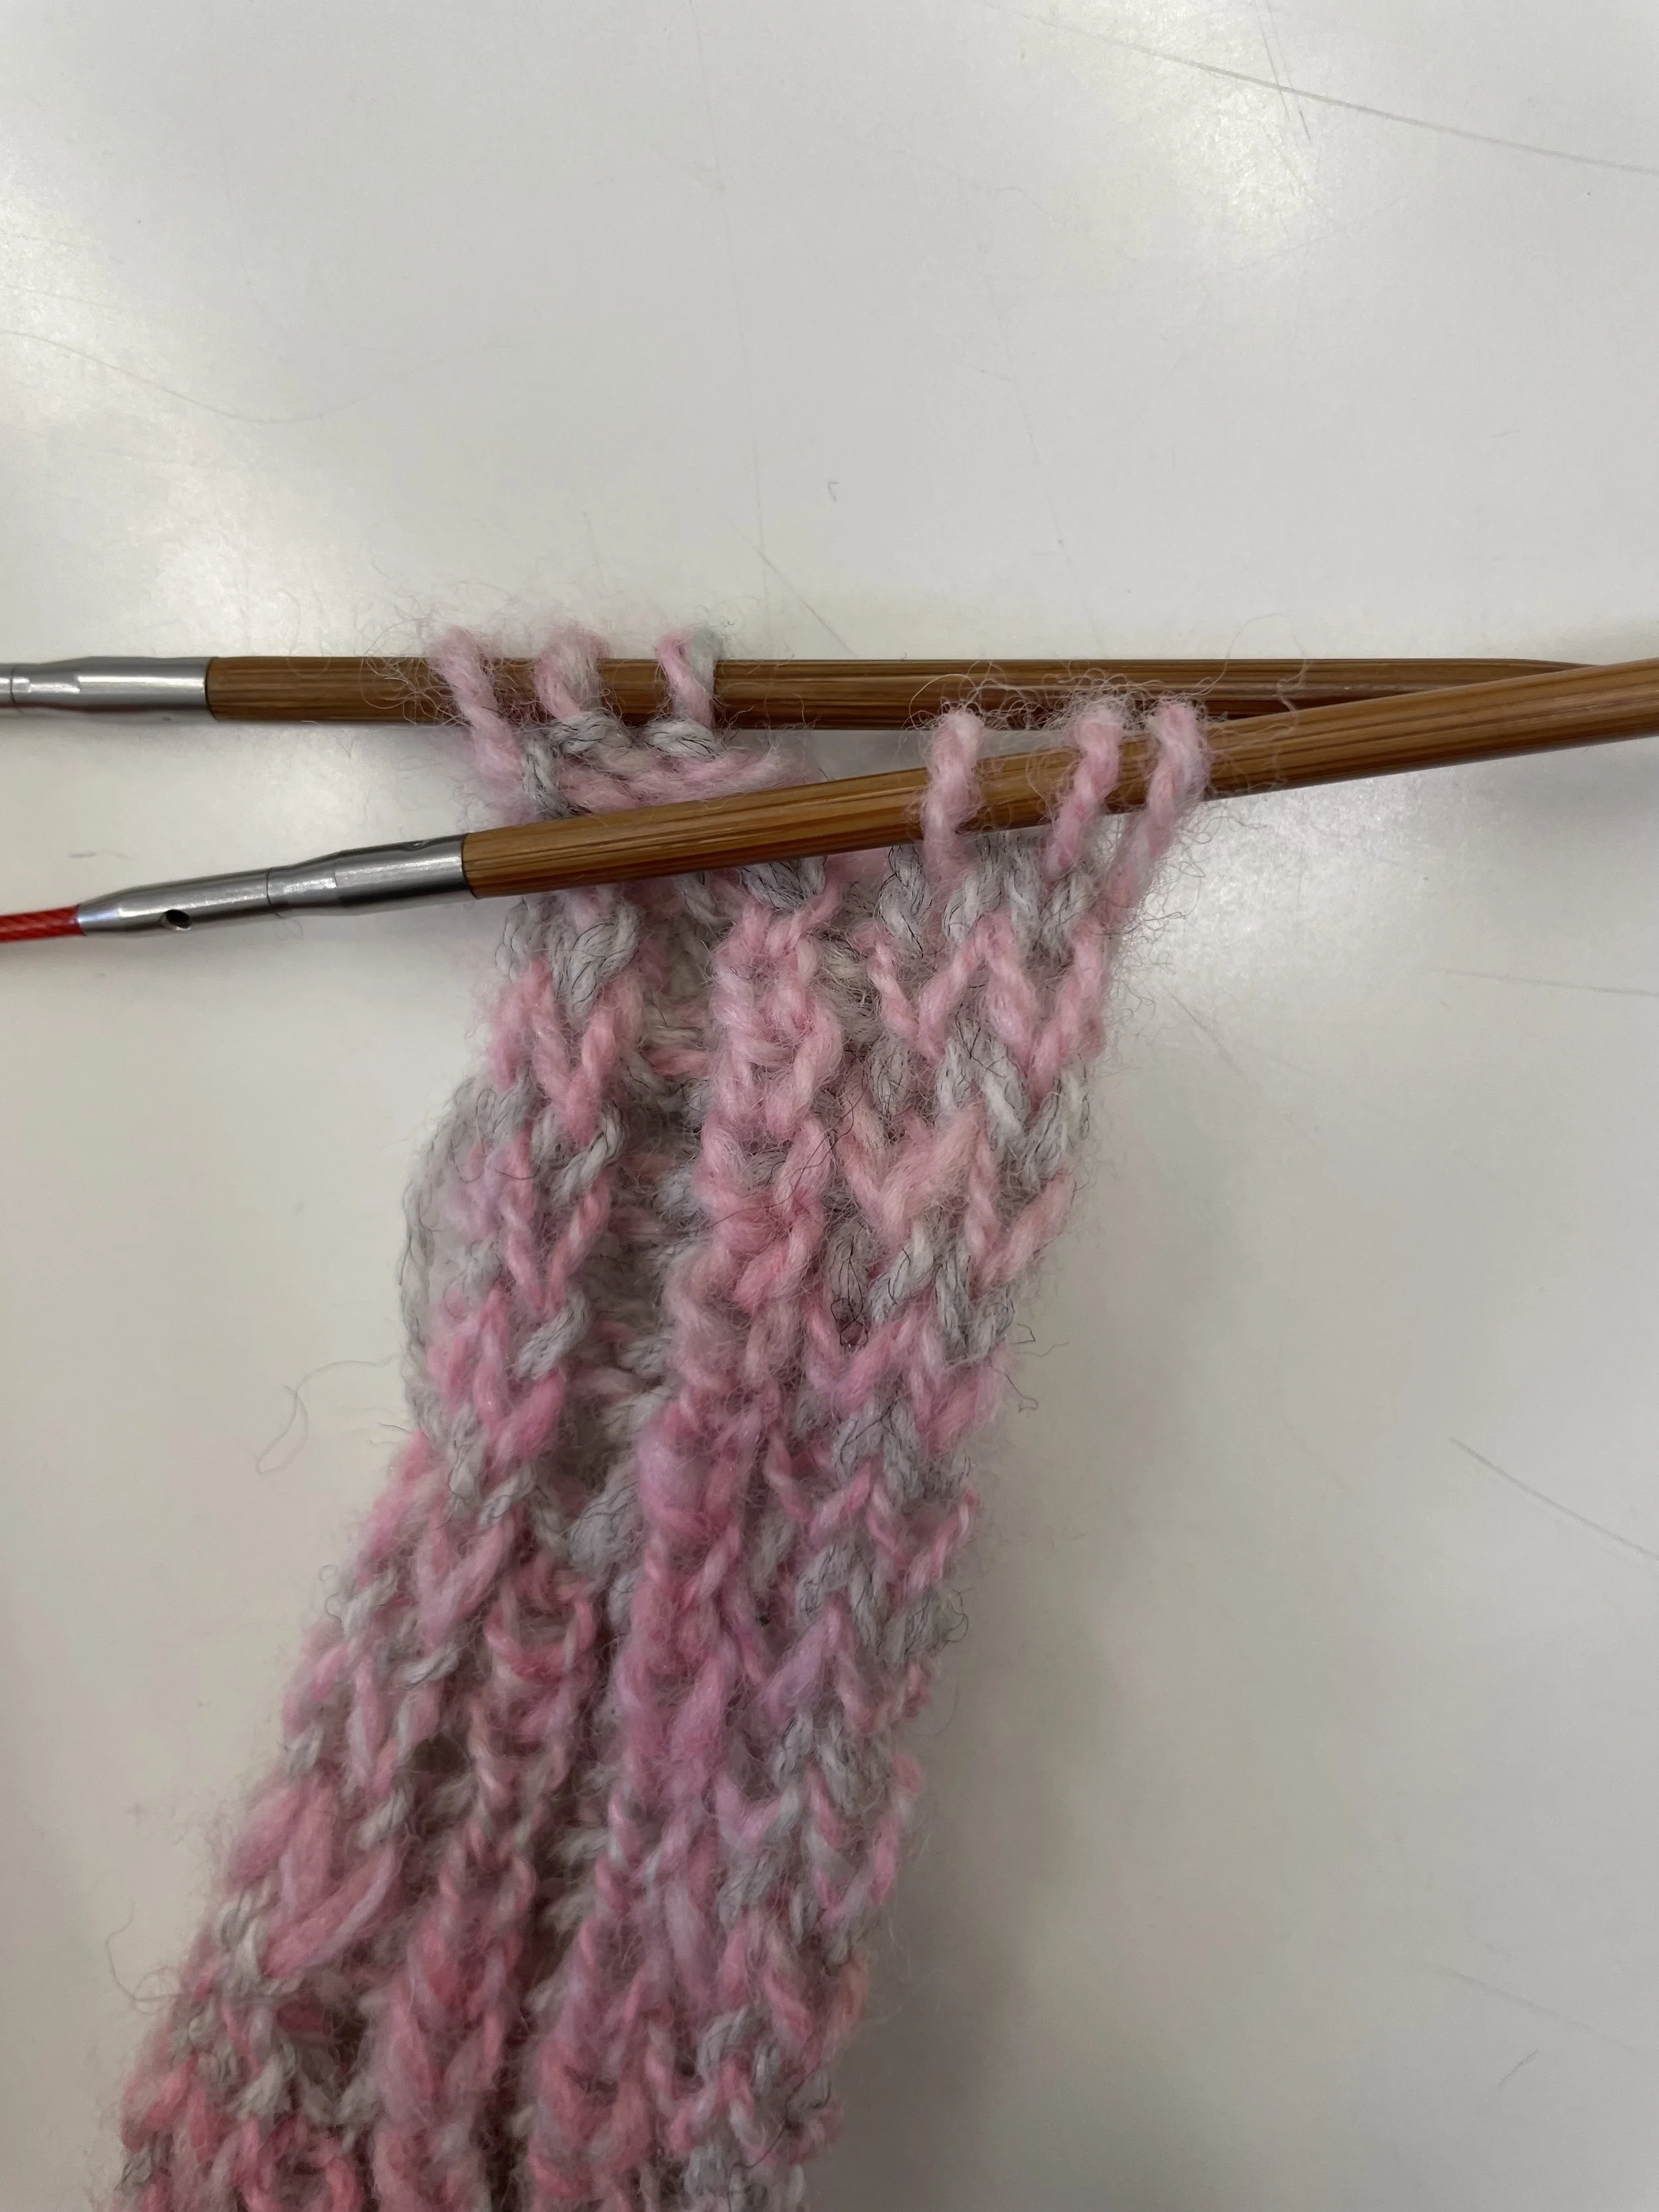
Thread Yarn A tail onto tapestry needle. With wrong side of shawl facing you, adjust your needles so that all stitches are on your left hand needle (LHN), with the needle tip pointing to your right. Insert your right hand needle (RHN), left to right, through the three rightmost stitches. Pull your LHN out of the stitches. Now, there are three stitches on your LHN and three stitches on your RHN. Needle tips are facing in the same direction, to your right. Stitches are now ready to be grafted together. Proceed to I-cord grafting.
Second half of shawl stitch set-up


Thread Yarn A tail onto tapestry needle. With right side of shawl facing you, adjust your needles so that all stitches are on your RHN, with the needle tip pointing to your left. Transfer the first three (leftmost) stitches on your RHN purlwise to your LHN. Rotate your needles so that they are parallel and facing the same direction to your right. Stitches are now ready to be grafted together. Proceed to I-cord grafting.
I-cord grafting
Grafting an i-cord together with Kitchener stitch is nearly identical to using Kitchener stitch “normally” on a stockinette piece of fabric. From now on, your needles will be referred to as “front” (needle closest to you) and “back” (needle furthest from you).
Kitchener stitch set-up


First, work the set-up. Insert your tapestry needle purlwise into the first stitch on your front needle (Above Left). Pull through, leaving the stitch on the needle. Then, insert the needle knitwise into the first stitch on your back needle (Above Right). Pull through, leaving the stitch on the needle. Set-up is now complete, and you can move onto Kitchener stitch.
If you know how to Kitchener, work Kitchener stitch until there is one stitch left on each needle.
Otherwise, follow the steps below.
Kitchener stitch


Front needle: insert tapestry needle knitwise, take stitch off needle (Above Left). Insert tapestry needle purlwise into the next available stitch, leave stitch on needle (Above Right).


Back needle: insert tapestry needle purlwise, take stitch off needle (Above Left). Insert tapestry needle knitwise into the next available stitch, leave stitch on needle (Above Right).
Repeat until there is one stitch left on each needle.
Finish by going through the stitch on the front needle knitwise, taking it off the needle, then going through the stitch on the back needle purlwise, taking it off the needle (knit, off, purl, off)
Weave in ends.